Blender: bricks with the displace modifier
In this tutorial for Blender in english (updated to Blender 2.93) we continue the mini-course on how to create a 3D wall starting from a photo. In the previous tutorial https://www.graphicsandprogramming.net/eng/tutorial/krita/make-textures-in-krita/krita-tutorial-map-displacement-height-normal we created the various textures (displacement map, height map, normal map, roughness map, specular map) to be used as maps in a 3D modeling program, in our case Blender. In particular we will now use the displacement map to give an approximate shape to the bricks of our wall using the "Displace" modifier. This method facilitates modeling operations because, by reading the data contained in the texture maps, the software automatically moves the vertices of the meshes, creating complex structures in a short time.
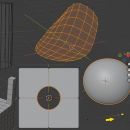
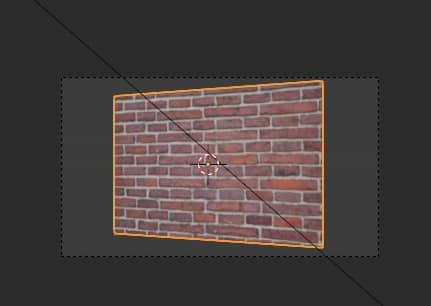
Being an example for didactic purposes only, to show the displace modifier we will use a simple plane as the basic structure, whose dimensions and proportions coincide with those of the textures. To carry out this correspondence, we start the Blender software and import the starting photo of the wall, which we had called "diffuse_map.jpg", with the "File > Import > Images as Planes" addon
(if the addon is not present, you can activate it in "Edit > Preferences > Add-ons")
(This addon will also automatically create a "UVMap" for the plane and link the imported texture to a "Principled" shader)
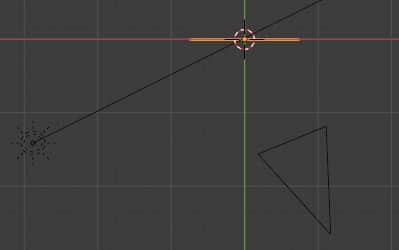
Then we place the camera and a sun-type lamp so that we can see the wall obliquely
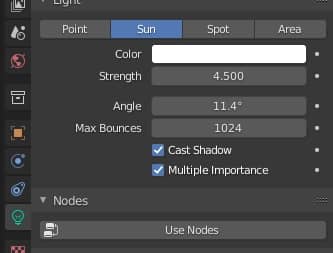
Let's give to the "Sun" lamp Strength:4.5
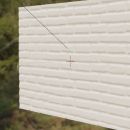
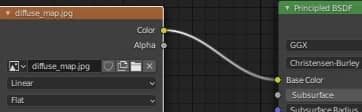
select the "Shading" workspace and for now disconnect the texture containing the image from the Principled shader

the displacement method moves the vertices present in the mesh, so the more vertices are present the better the mesh will be able to represent the displacement texture data however, especially in complex projects, this will involve a considerable increase in memory.
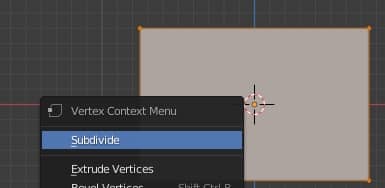
We could subdivide the mesh many times, but this could cause slowdowns during the creation of a scene and we will no longer be able to modify what we have done to reduce the number of vertices, so let's create a structure in two parts: a basic subdivision and then above a realized one via a "Subdivision Surface" modifier, whose parameters can be modified later at will. We then select the plane and, by pressing the TAB key, we switch the interaction mode from "Object Mode" to "Edit Mode", then click with the right mouse button on the plane and, in the popup menu that appears, select the "Subdivide" function
in the window appeared at the bottom left we choose the maximum number of cuts available, that is 10
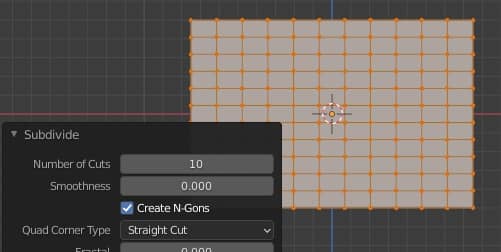
we could insert the value 100 and thus create a subdivision that is already sufficient

but for the reason explained before we will leave the value 10.
In the "Properties Window" by clicking on the "Modifier Properties" tab, click on the "Add Modifier" drop-down menu and associate the "Subdivision Surface" modifier (found in the "Generate" group).
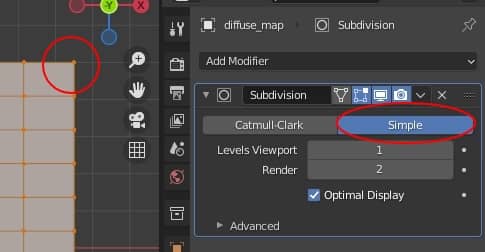
To prevent the corners of the top rectangle from becoming rounded
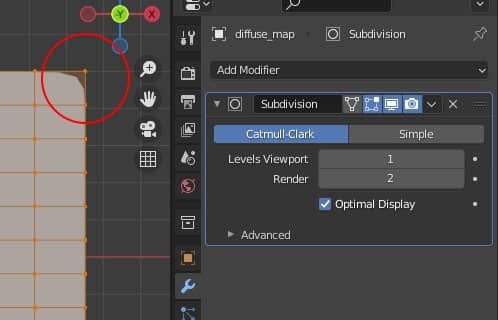
click on the "Simple" button
we press the Tab key and go back to Object Mode, then we press zero on the numeric keypad to activate the camera view

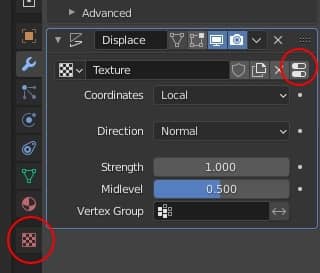
click again on "Add Modifier" and add the "Displace" modifier (found in the "Deform" group)
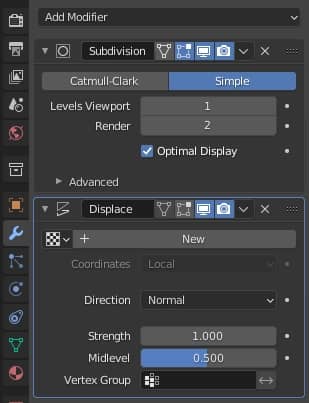
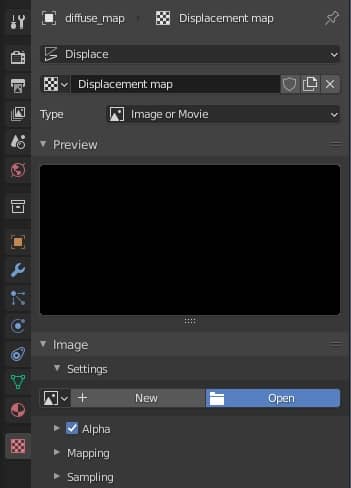
press the "New" button to associate a texture, whose settings we can access in two ways, either by pressing the button on the right or by clicking on the "Texture Properties" tab
Let's leave the "Displace" genre, give a new name "Displacement map", with Type:Image or Movie, then click on the open button to load the "displacement_map.jpg" image we created in the previous tutorial
and looking in the viewport we notice a somewhat strange result
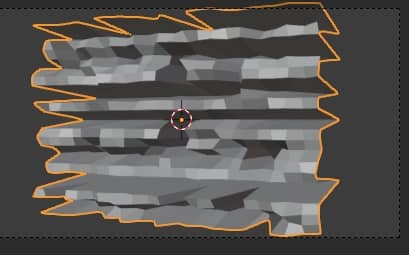
we notice two things: the mesh resolution is still too low to define the bricks and that the bricks stand out too much.
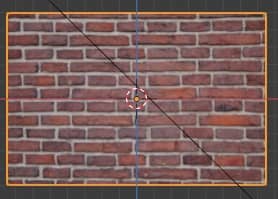
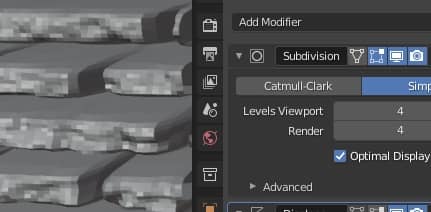
To increase the resolution we increase the value of "Levels Viewport" in the "Subdivision" modifier bringing it to 4, thus starting to see the bricks in a more defined way
To decrease the thickness of the displacement texture effects, we modify the "Strength" value in the "Displace" modifier giving the value 0.015
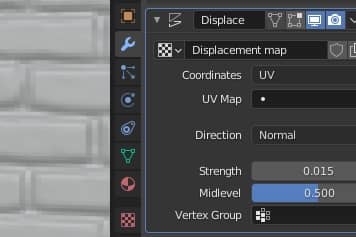
it is a relatively small value, but we must not exaggerate, because the diffuse texture we use does not cover the side parts of the single brick and therefore could be too stretched in these points, so always check how far you can go and if in some cases the tool displace is the one for you or not (for small reliefs a normal map is enough).
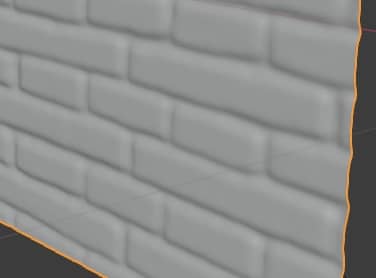
Looking at the wall from the side, pressing the 3 key on the numeric keypad, we see that the mesh has actually become thicker in correspondence with the bricks.

We press the 0 key on the numeric keypad to return to the room view and we notice that however there are fewer bricks than the texture, as they are larger.
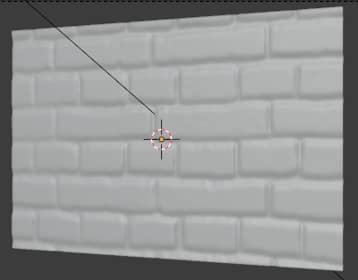
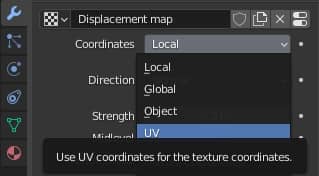
This happens because in the "Displace" modifier we left the "Local" coordinate system while we had a UVMap. We then change the coordinate system to "UV"
and we get
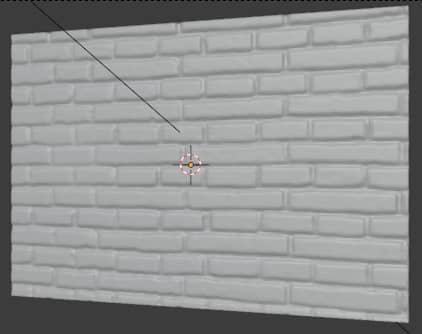
where the number and position of the bricks now correspond to that of the diffuse map.
Let's now connect the diffuse map texture to the Principled BSDF shader
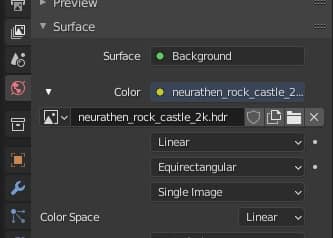
and in the "World Properties" we insert the hdri "neurathen_rock_castle_2k.hdr" downloaded from the site polyhaven.com/hdris as a color for the ambient light
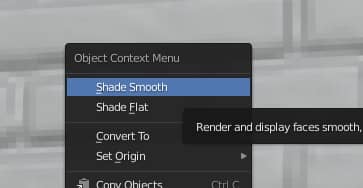
in "Object Mode" click with the right mouse button on the plane and select "Shade Smooth" to show the more smooth faces
If we rotate around the plane and look in the "Rendered" preview, we begin to see an interesting result, with the bricks well in relief.
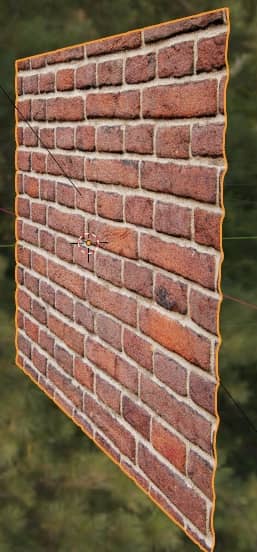
For now the bricks are only hinted at,
the task of the "Displace" modifier was, however, to create only the shape of the bricks, while the details can be added later, using the height and the normal map, but we will talk about them in another tutorial.
We save the file as "displacemodifier.blend".
You can download the project files here:
displacement_map.jpg
diffuse_map.jpg
displacemodifier.blend
That's all for this displace modifier tutorial, in the next we will see how you can optimize displacement using microdisplacement (or adaptive displacement) https://www.graphicsandprogramming.net/eng/tutorial/blender/modeling/blender-brick-adaptive-subdivision-microdisplacement. Happy blending!
Back to "Blender course: from photo to 3D wall" course