Blender: how to add multiple materials to one object
In this tutorial we are going to see how to add multiple materials to a single object or mesh in Blender. It is one of the problems and doubts that arise when starting to learn how to use this 3D modeling software, but the solution is relatively simple. Later we will talk about how to resize any texture using the "Mapping" node or acting on the "UV Map".
Assigning multiple materials to one object:
In the first example we will try to assign different materials, compared to the base one, to some faces of a cube
Let's start Blender, activate the "Material preview" view at the top right

we select the default cube and in the "Material properties" tab we change the name of the material, for example, with "Blue" and we assign blue color (#0000FF) to the "Base Color" of the Principled shader
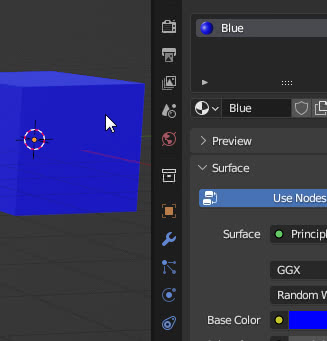
press the "TAB" key to enter "Edit Mode" and activate the face selection mode at the top left

in the materials tab we press the "+" key to add a new slot (position) where to insert a new material
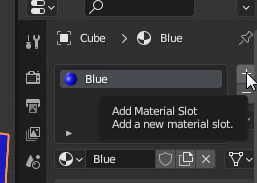

Press the "New" button
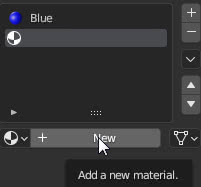
and let's call the new material, for example, "Red" to which we give red color (#FF0000) to the "Base Color" of the "Principled" shader that appeared by default.
If, on the other hand, we already have materials created, we can select them from the relative drop-down menu.

We select a face of the cube (if the "Blue" material has been reselected again, click on "Red") and click on the "Assign" button to assign the material to that face, which will be painted red.

if we want to add another material we follow the same procedure: press the "+" button in the material list, to add another place to insert a new material, and press the "New" button to create a "Green" material to which to give color #00FF00, select another face (if you have reselected the "Blue" material again, click on "Green"), click on the "Assign" button and the face will be painted green

Resize a texture of an object with multiple materials:
When an object/mesh has multiple materials containing textures, it may be necessary to customize their mapping as needed.
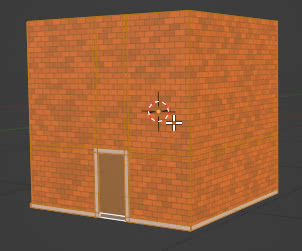
If for example we have a house

and we want to insert a texture depicting a door downloaded from https://www.textures.com/download/3DAtlas0719/143964
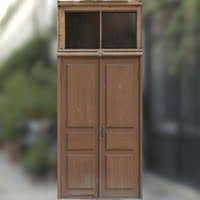
usually the original image almost never corresponds in height and width (and in proportions) to the dimensions we wanted. As in the cube example above we created more materials and assigned them to the faces, now we created two materials "Wall" for the wall and "Stone" for the frame stones and finally we added a "Door" material for the door, assigning the relative faces.

However, inserting the new texture of the door as it is (connected to the "UV" port of the "Texture Coordinate" node because a basic UVMap is already present, according to which the other textures of the other materials are also mapped),
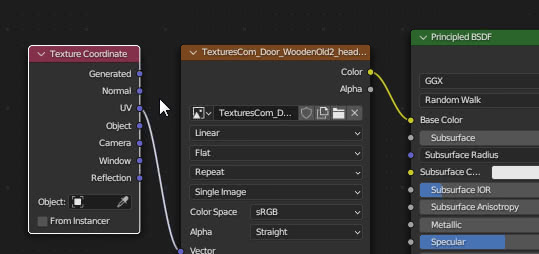
we will not be able to achieve the desired result, because you will only see a part of the image.

To resize, move, rotate the texture we can follow two paths: using a "Mapping" node or acting on the "UV Map".
In the first method we added a "Mapping" node ("Add > Vector > Mapping"), which first allowed us to rotate the texture by 90 degrees, then we scaled it out about 12 times (10 times along the Y coordinate for change the proportions) then translated to better position it inside the window frames
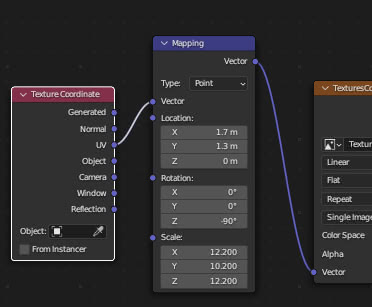
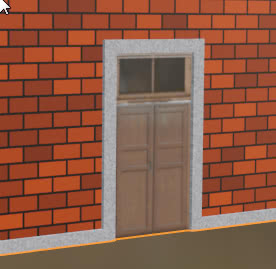
thus obtaining the desired result
Now let's see the method that acts on the "UV Map": if we access the "UV Editing" workspace, by clicking on the relative tab, and load the texture of the door

if we select, in the window on the right, in "Edit Mode" the whole object by pressing the "A" key
the whole "UV Map" will appear in the "UV Editor" on the left
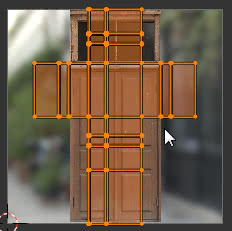
if instead we select only the faces corresponding to the door
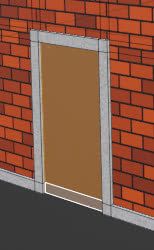
only that small corresponding part of the map will appear
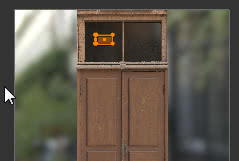
that we can adapt to the door, first by rotating it by -90°, then using the "S" and "G" keys to resize and move it
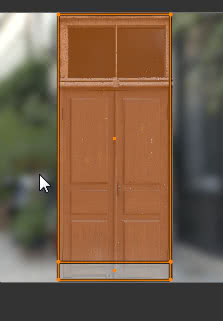
achieving the desired result

This tutorial, explaining how to assign multiple materials/textures to a single object or mesh, ends here. We hope we have cleared some doubts on the subject. If you want to learn how to associate several "UV Maps" to the same object, because you will have to modify all the mapping for each texture added on the whole surface, you can watch the tutorial "Blender tutorial: how to add dirt to a wall". Happy Blending!