How to make a brick pattern in Krita
In this tutorial we will see how to create a stylized brick pattern in Krita. Remember that a pattern is an image that is repeated, perhaps by inserting it with a fill tool, so it must have certain graphic characteristics that facilitate its repeatability, for this we will also help ourselves with the "Wrap Around mode" to have a preview of the result.
The various steps that we will follow to create the brick pattern in Krita:
- Choose the tools to draw the brick
- How to make the brick pattern
- How to save a pattern in Krita
- Do we save the pattern temporarily or permanently in Krita?
- How to use the brick pattern
- Choose the tools to draw the brick
- How to make the brick pattern
- How to save a pattern in Krita
- Do we save the pattern temporarily or permanently in Krita?
- How to use the brick pattern
Choose the tools to draw the brick:
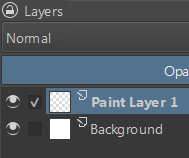
So let's create a new project of relatively small dimensions, that is 600x600 pixels,

with a layer for painting and a white background (since we will have to draw with black and therefore the strong contrast increases its visibility)
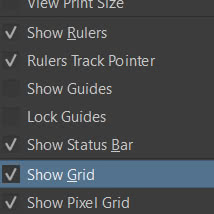
In the "View" menu we activate the display of both the rulers ("Show Rulers") and the grid ("Show Grid").
As a brush we choose "Block basic" (the highlighter),
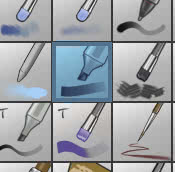
because it has a square tip and therefore we will be able to draw the corners completely, with dimensions 10 pixels and black color.
So let's activate the "Line Tool"

How to make the brick pattern:
Draw a line with initial position 300 pixels horizontally and zero vertically, which we will indicate with (300, 0), and final position 300 horizontally and 300 vertically, that is (300, 300)
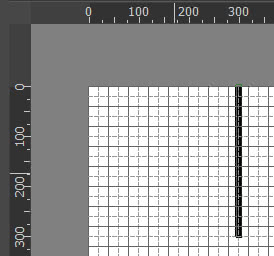
(to help the tracing of a perfect vertical line, press the "Shift" key as soon as you have started to draw the line)
Then draw a line that goes from (0, 300) to (600, 300)
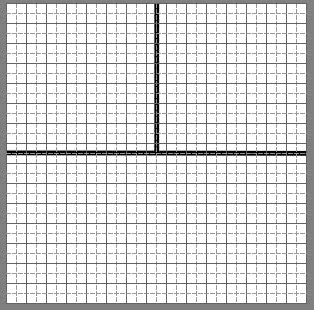
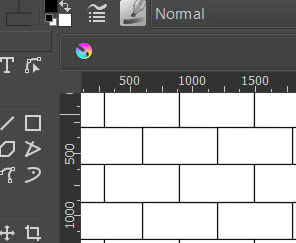
Where are we with the drawing of the pattern? Is there still much to go? Let's activate the function that virtually multiplies our pattern, to give us a preview, by selecting "View > Wrap Around Mode" from the menu or by pressing the "Shift+W" keys
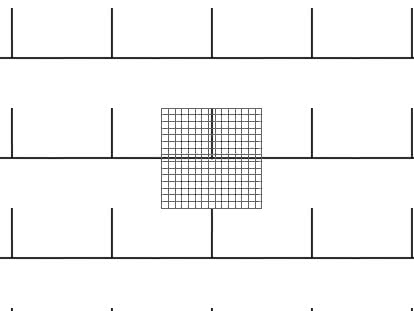
As you can see, the area where we are drawing is identified by the grid, while the other duplicated areas are shown virtually (virtually in the sense that in our project the image we are drawing has not been actually duplicated, but only a temporary preview is shown): the bricks have already been roughly defined, but some lines are still missing.
Then we press the "Shift+W" keys again, to exit the preview, and draw a line from (0, 300) to (0, 600)
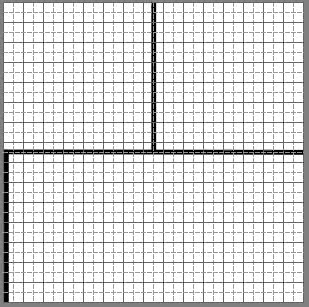
then a line from (0, 600) to (600, 600)
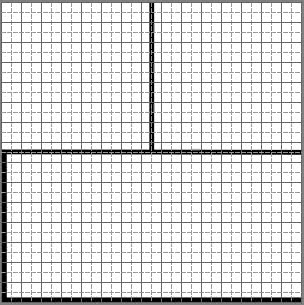
(If you can't draw the lines exactly in a certain position, you can create a layer for each line, move them appropriately and then merge the layers once you are satisfied with the result).
We press the "Shift+W" keys again to review the preview of the repeated pattern and we note, with satisfaction, that we have finally achieved the desired result
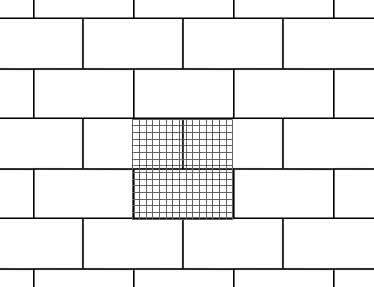
We remove then preview and save the project, pressing the "Ctrl+S" keys (or selecting "File > Save" from the menu).
How to save a pattern in Krita:
To save the pattern just created and introduce it into the relative list in Krita, open the "Fill Patterns" window, clicking on the button at the top left, under the menu (to the right of the one to select the gradients and to the left of the one to choose the colors)
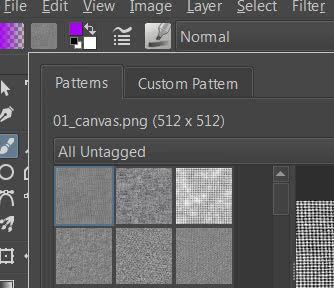
and click on the "Custom Pattern" tab to manage the new pattern. In this panel, however, we notice that the preview of the pattern that must be saved does not appear
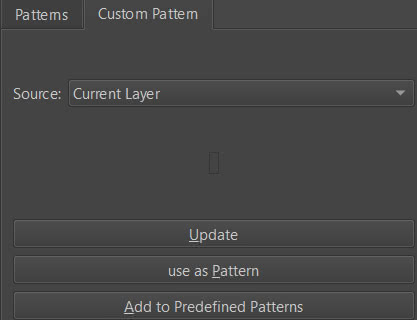
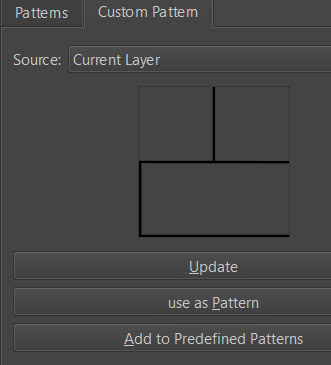
however, it is sufficient to press the "Update" button to make it appear
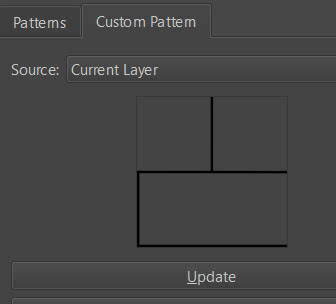
as you can see, our drawing appeared without a background, because we had chosen the "Source: Current Layer" option that only considers the current layer. If we included all the layers by selecting "Source: Entire Image", the background would also appear
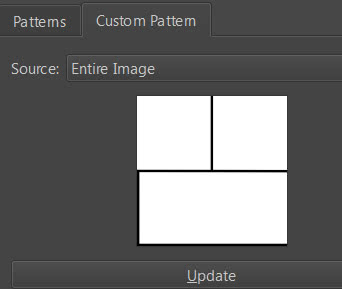
However, when we create a pattern, we are usually interested in making it with a transparent background (so that we can also apply it as a texture on other images, we can use various blending modes, etc.) but it can happen that the interesting part of the pattern is distributed on multiple layers in our project, so in that case we either choose "Entire Image", hiding the background first, or we choose the current layer, after having previously merged all the necessary layers together.
Do we save the pattern temporarily or permanently in Krita?
With Krita we can save a pattern temporarily or permanently.
To save a pattern only for this session of using Krita (restarting the software will lose it) in the "Custom Pattern" window we press the "Use as Pattern" button
and our pattern will appear in the patterns icon and we can use it in a new project, or by opening another one.
while if we want to permanently save a pattern, we will have to press the "Add to Predefined Patterns" button, then the file browser of your operating system will open, in the "Krita > patterns" directory inside the directory of your user profile, and the file can be saved with the ".pat" extension (that is, pattern/motif), which is a GIMP format, but also in png, jpg, tiff and bmp formats (the most suitable format also depends on whether the pattern has a transparent background or not). We have chosen the name and format "bricks.pat" and the pattern will appear with that name (and with the dimensions with which we had built it) in the list of patterns.
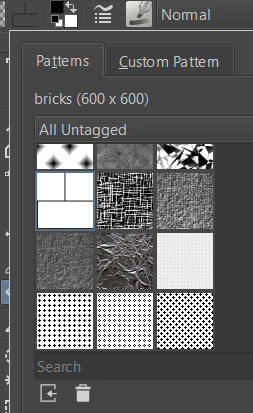
As we can see from the "Patterns" tab, it is possible to perform some operations on the pattern:
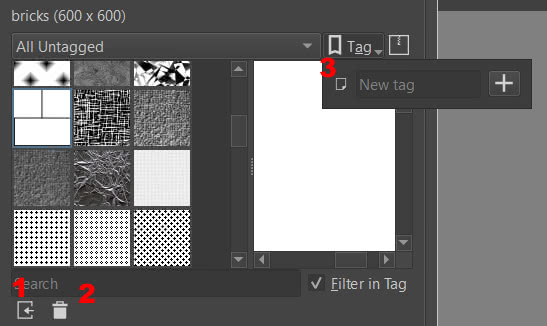
(1) we can import patterns from external files, (2) or remove the currently selected pattern, (3) or it is possible to create a new tag that identifies a specific set where to group some patterns (for example those that represent the texture of a fabric, or those that are used to create tiles etc.).
For example, if we create a tag "mySetExample" this will appear in the drop-down menu to filter the groups of patterns
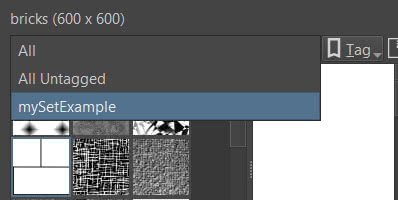
if we select it, we see that by opening the tags menu again, this will give the possibility to rename the tag or delete it.

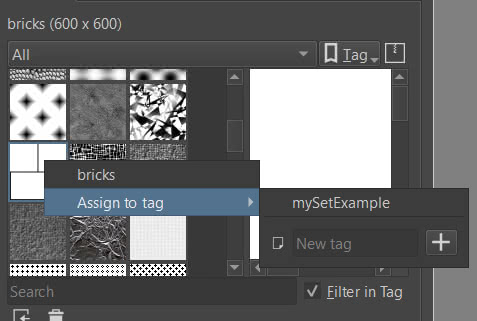
if we right-click on a pattern icon, we will be presented with the option to associate the pattern with the tags we have created (in this case "mySetExample") or to create a new tag
If, as before, we select the tag from the drop-down menu, and delete it using the function seen in the menu on the right, we will now be shown the option to restore it.

How to use the brick pattern:
We had already seen in How to use patterns in Krita how to use patterns. So we can do it with this one that we have just inserted, using it as we created it, or changing its color and background.
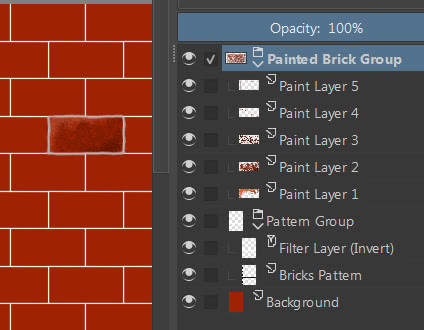
For example, we can add a brick-colored background and insert our pattern in a group (for example, painting a layer with the bucket) and a filter that inverts the color from black to white
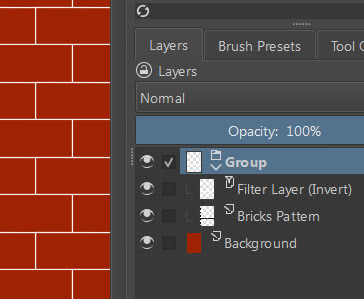
or we can use this pattern, representing stylized bricks, as a base to create more "artistic" bricks, creating layers above them to paint on
Here ends this tutorial to create a pattern depicting stylized bricks. Try to create your own patterns and then check how they turn out, they save time and can also be fun. Happy drawing and happy painting!