Blender duplicate along a curve without deformation
In this tutorial we will discuss how to duplicate objects along a curve / path in Blender 2.8 without deformation. The repetition of the objects is very useful and used in Architecture or VFX, for example to create a row of lamppost objects or trees along the road, a series of particular light points, the battlements of a castle tower, in general to make sets of equidistant repeated objects.
Unfortunately, in the latest version of Blender there are no features of the previous versions to avoid deformations and therefore we must try to work around the problem.
How to duplicate along a curve without deformation in Blender 2.7x:
In versions 2.7x, and earlier, to duplicate objects along a path, a function was used that was called DupliFrames, which duplicated frame-by-frame objects in a simulated animation along a path.
For example, if with version 2.79 we want to duplicate without deformation a cube along a bezier curve
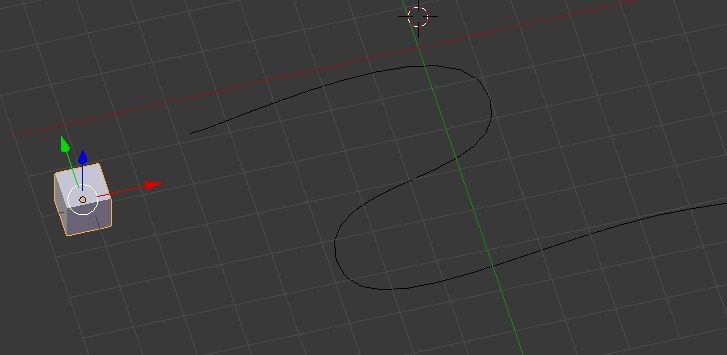
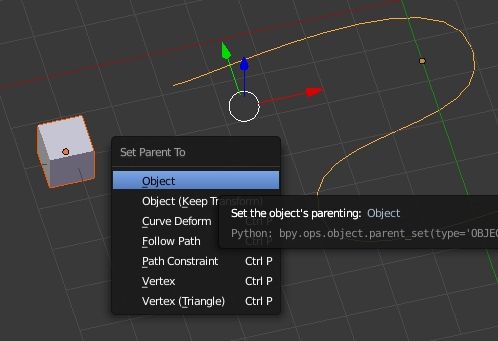
first select the cube and then the curve and then we associate them by pressing the CTRL+P key and select the Object option
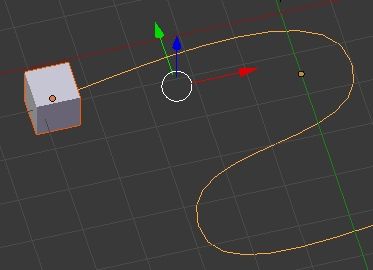
keeping the cube and curve selected, we place the cube at the beginning of the path by pressing ALT + O which activates the Clear Origin command, which place the child object on the parent object
Then we select the cube and in the Properties Window, in the Object > Duplication tab, we select through how many frames we want to duplicate the object, then we remove the check from the Speed option

and we get

Now we select the curve and in the Properties Window on the Data > Path Animation tab and we define the number of frames that are needed to traverse the path during the duplication animation
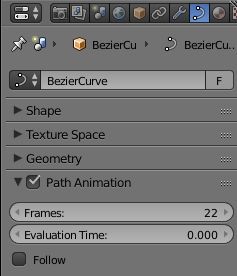
and we will get
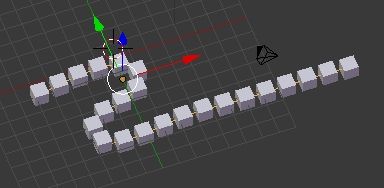
however, to follow the path correctly the cubes, we will also have to check the "follow" option and we will have

and, as you can see, the cubes were not deformed along the curve
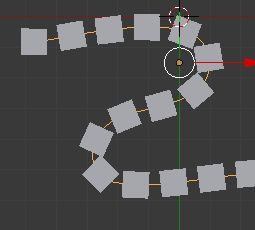
In Blender 2.8, however, we have to look for another solution because if we try to duplicate the cube with frames, we see that the command is absent; indeed, by selecting the cube, in Object > Instancing

Duplication of an object along a curve with arrays with deformation:
In Blender 2.8, let's try duplicating an object along a curve using an array. So let's create our cube and the curve.

Building the path we have shifted its center of gravity, so we select the curve and move its origin with the command Object> Set Origin> Origin to Geometry

Now let's make the origin of the cube coincide with that of the curve, moving the 3D Cursor first on the origin of the path with SHIFT+S and "Cursor to Selected"

then selecting the cube and pressing the SHIFT+S keys and "Selection to Cursor"

We now replicate the cube object along the path, associating it with an array modifier and then a curve modifier (with the path "curve" in the object parameter)

the cube will be duplicated along the curve, but will be deformed.

How to avoid this defect? We are looking for a solution by combining the tools we have available: the Array modifier, the Curve modifier and the Instancing Faces function.
Object duplication along a curve without deformation in Blender 2.8:
We create an auxiliary plane (red) and we parent the cube (gray) to it
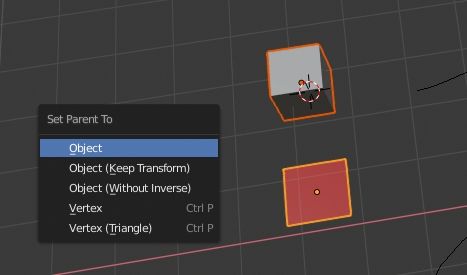
Keeping the cube and the plane still selected, let's concur the origin of the child cube with the origin of the parent plane, otherwise the distribution of the cubes would be out of phase with those of the planes, using the function Object> Clear> Origin

and we will have
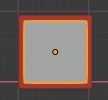
Following the previous procedure, using the 3D Cursor (select the curve and "Cursor to Selected", selecting the plane and "Selection to Cursor"), we make the origin of the plane coincide with that of the curve, obtaining

We associate the array and curve modifiers with the plane (with the path to follow in the "Object" option)

and we get

now we duplicate each cube object for each face of the plan. Select the plan and activate the Object > Instancing > Faces function

>
and in the end we will have

thus obtaining the desired result, that is, cubes which follow a curve but which are not deformed. (Using "Instancing Faces" options, we can also hide plans from 3D view or rendering)
What if we wanted to modify each cube independently? We select the cubes, press the F3 search key and write "Make Duplicates Real"

Thus making each cube unrelated to planes, but still an instance of the initial cube
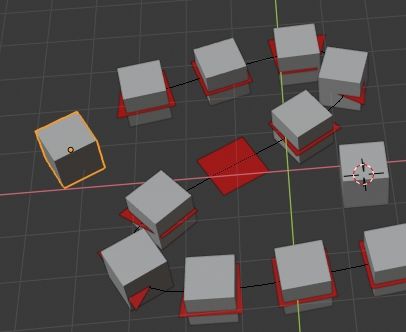
To make the cubes completely independent, we select them all and call the Object > Relations > Make Single User > Object & Data function and then select "Selected Objects"
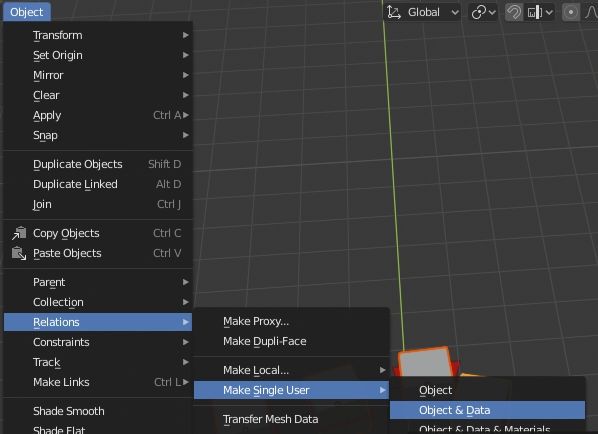
Now the cubes are independent and we can modify them at will individually

In this tutorial, which solves some problems of Blender version 2.8, we have used cubes as an example to emphasize the problem, but the solution is applicable to any type of object. Happy blending!
![Resize particles by blend textures in Blender [ENG]](../../../../immagini/copertina/cover2_130x130.jpg)
![The new shortcuts in Blender 2.8 [ENG]](../../../../immagini/copertina/cover3_130x130.jpg)