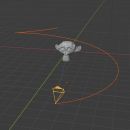
Blender how to duplicate a camera along a curve
In this tutorial in english for Blender (written creating the examples with Blender 2.82) we will see how to duplicate a camera along a curve in equidistant points. In fact, sometimes it is necessary to create a system with multiple cameras, to have multiple views of the same scene at the same time.
We start Blender, we press the key "A" and we delete all the objects; we change to "Top Orthographic" view, pressing the "7" key on the numeric keypad. We create a Bezier curve, we enlarge it, pressing the "S" and ENTER key, and we confirm with the CTRL+A keys, then we move it

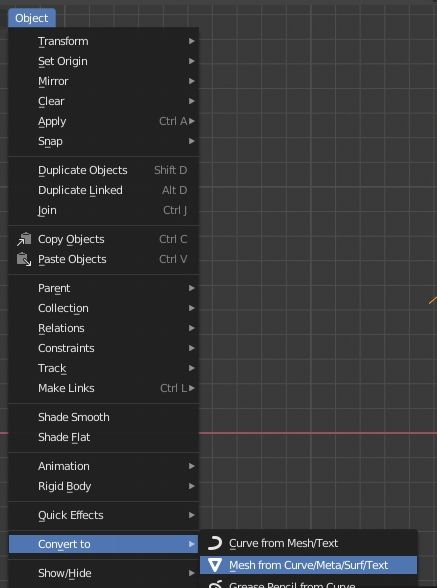
we give the curve the shape we want (we leave it as it is in this example) and finally we transform it into a mesh by selecting from the Object > Convert to > Mesh from Curve/Meta/Surf/Test menu
create a camera with SHIFT+A, rotate it 90 degrees with respect to the X axis, pressing the "R" "X" keys, writing the value 90 and confirming with the ENTER key. We rotate it later with respect to the Z axis, pressing the "R" "Z" keys and confirming with the ENTER key, then we move it a bit towards the curve
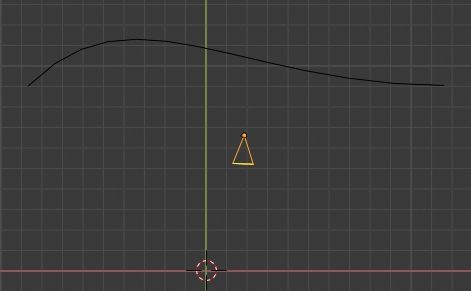
pressing the SHIFT+A keys we create an Empty object

we select the camera and associate it with a Track To constraint, placing the Empty object as the target
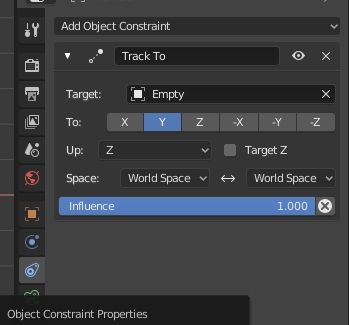
however we see that the direction of the camera is incorrect, because it is not facing the Empty

so we choose the right combination of axes in the newly created constraint

and we achieve the result we were looking for

Now let's make the camera child of the mesh curve: first select the camera and then the mesh, press CTRL+P and choose "Object". We get then

Let's match the origin of the camera with that of the mesh: select the curve, press the SHIFT+S keys and choose the "Cursor to Selected" option; select the camera, press the SHIFT+S keys and choose the "Selection to Cursor (Keep Offset)" option and obtain the overlapping of the two pivots
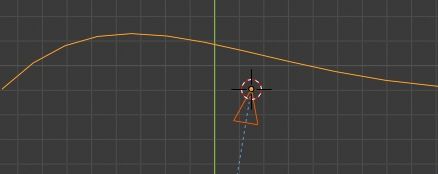
Now duplicate the camera along the vertices of the curve: select the mesh, in the "Object Properties" tab of the Properties Window, in the "Instancing" subpanel click on the "Verts" button to duplicate the child objects on all vertices

and we get

It is a good result, however the cameras do not look towards the empty object but are parallel to the original camera. In fact, by moving the curve further to the right you can see it more

How then to orient all the cameras so that they all face the empty?
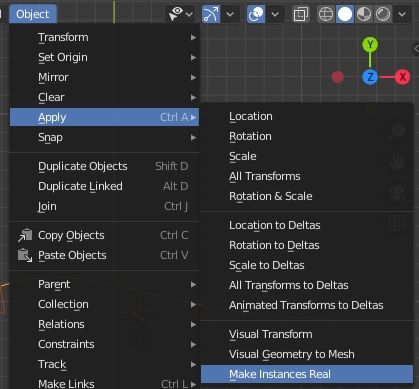
We transform the camera instances on the curve, making them become objects in their own right, selecting the curve and activating the Object > Apply > Make Instances Real command in the menu
now select all the cameras by clicking on the original camera for last, so that it is considered as an active object

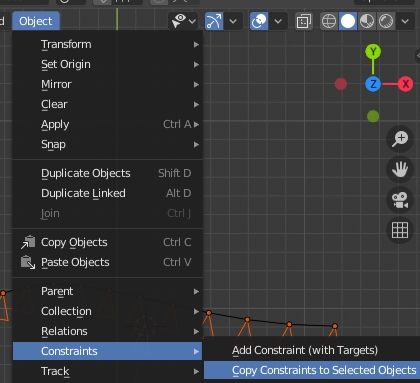
and we transfer the constraint of the original camera to the duplicated cameras, selecting in the Object > Constraints > Copy Constraints to Selected Objects menu
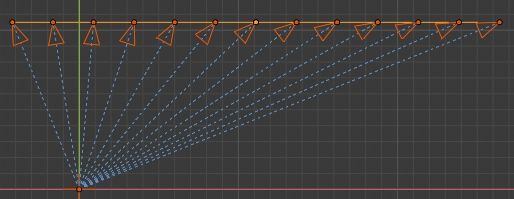
and now all duplicate cameras will also point to the empty object

We can possibly hide or cancel the original camera.
For convenience (to better position the system of cameras during use) we can relate the cameras to the curve again: we select the duplicate cameras, we select the curve, we press the CTRL+P keys and we choose "Vertex", eventually obtaining our system of cameras
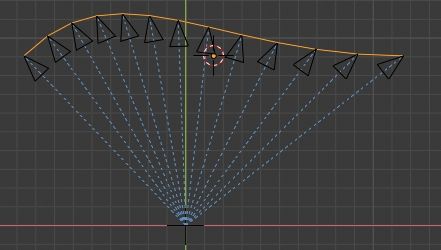
We can move the curve where we want, but they will always point to the empty

This tutorial ends here to duplicate a camera along a curve in Blender; we used an unmodified Bezier as the reference curve, but the method used can also work with a circle mesh

or even just with a split segment
Happy blending!

