Grease Pencil Blender 2.8: how to draw a manga - part 2
Here continues the second part of the tutorial on how to make a manga with Grease Pencil in Blender 2.8. In the first part of the tutorial we designed the head and eyes of our character, we will continue here finishing the remaining parts of the face, adding hair and other details, like shadows and reflections.
Some instructions will seem repetitive to you (for example the creation of a material, a new layer and the use of the Arc tool), but they should become almost automatic, focusing on what you are doing. A structure has been created on many layers both to facilitate the modification of the drawing and the blocking of its parts, when intervening with sculpting tools to perfect existing curves and lines.
We draw the nose and the mouth:
Let's create a new "Nose" layer and, using the default material Black, with radius 6 we draw the nose with the Arc tool, corresponding to the nose reference line that was drawn at the beginning of the first tutorial (the blue lines indicate the edge of the arches)

We set a new "Lips" material, border with hexadecimal value A0726E and filling F8B1AB
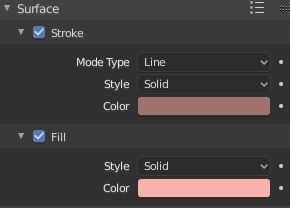
and we draw an ellipse with the Circle tool in a new "Mouth" layer

We create a material "Mouth lateral", only Fill with value A0726E, and on the sides of the mouth we draw with Arc shadows in order to simulate the presence of the tongue in the center
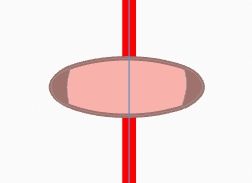
With Arc and Black material we underline below the shape of the open mouth

We draw the ears:
In a new "Ears" layer we create an ear, first with "Ears" material (with Stroke black and Fill FEF6EB) and Radius 15 px we draw with the Arc tool the external shape, then with Black material and Radius 10 px we define the internal details (the blue lines indicate the borders between the arcs)
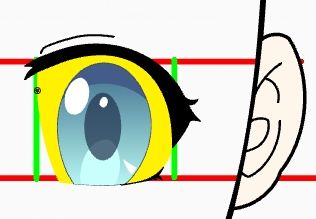
In Edit Mode we select the ear, duplicate it with SHIFT+D and, without confirming with the ENTER key, X to move it along the X axis, then we mirror it by pressing CTRL + M and the X key
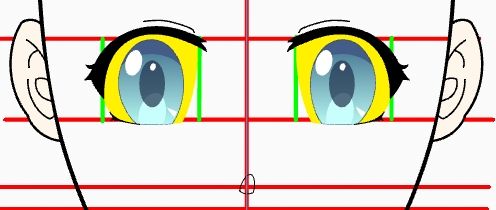
We complete the head and give color to the skin:
We hide the lines we used as a reference, activate the "Circle ref" layer and in Edit Mode select the lower part of the circle
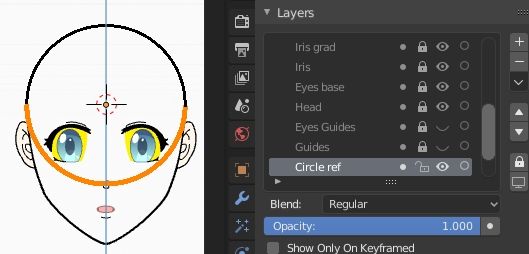
let's delete it; then select the upper part of the circle, press the M key and move it to the "Head" layer (previously unlocked)
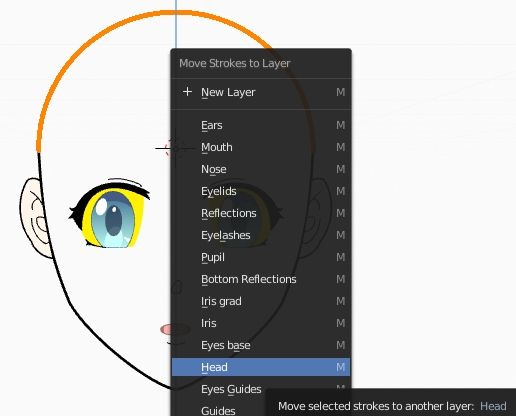
In Edit Mode we position ourselves in the "Head" layer and zoom in on the joints between the semicircle and the lines of the jaw
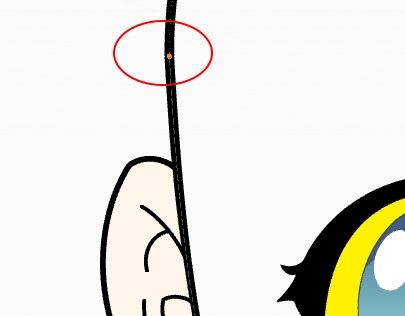
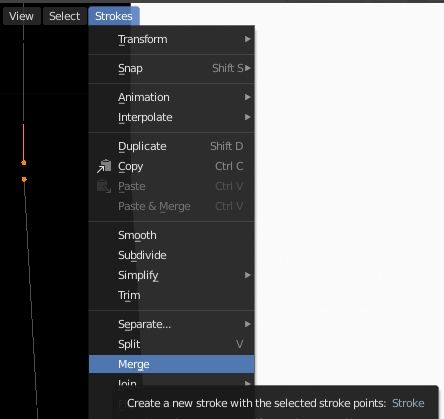
Then we combine the points, both left and right with Strokes > Merge
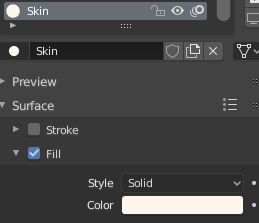
We create a "Skin" material with FEF6EB value fill
and in Draw mode, with the bucket tool, we paint the head by clicking on it

the accuracy of the bucket will be greater the resolution will be high (and the coloring process slower)

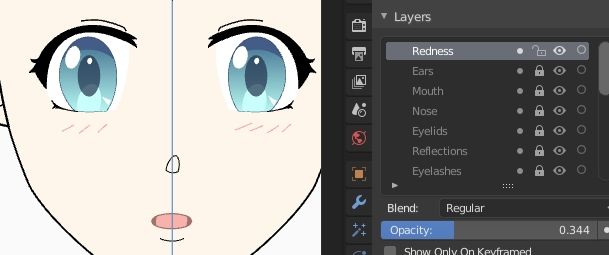
Let's change the color of the "Sclerotic" material to white for the sclera of the eye; with the Line tool, and Red material, we can possibly add a little redness to the cheekbones by tracing small lines
We create hair:
Even if the skull of our manga head is later covered, it is important to create it because it serves to define what the shape of the support will be on which the hair will grow. For example:

We then define, in a "Hair sketch" layer with default material "Red", a first sketch (even horrible, it does not matter) of how the hair should look, according to sinuous lines never completely straight, to make the hair as vivid as possible

In the "Hair external" layer with a "Hair color" material, with Stroke of hexadecimal color 220F06 and Fill C23612, we draw with Radius 30 (also a smaller value is fine) based on the sketch the outermost part of the hair with the tool Arc . If the design had defects, you can try to fix it with the Push, Grab, and Smooth sculpting tools
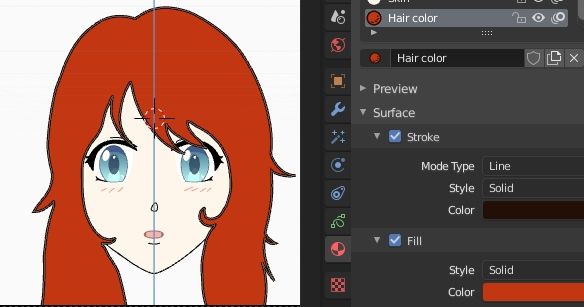
We create a "Hair def" material, with Stroke 220F06, and with Radius 15 we draw in particular the features of the hair in the "Hair definition" layer
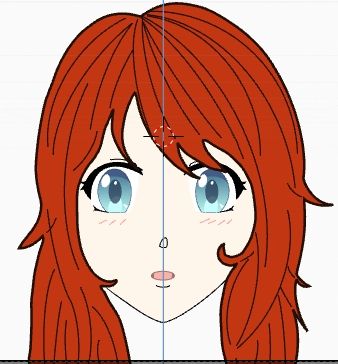
Changes to ears, eyebrows, skin:
In the "Ears" layer we duplicate the ears and pressing M we copy them into the layer above the hair "New Ears"

We select ears differently
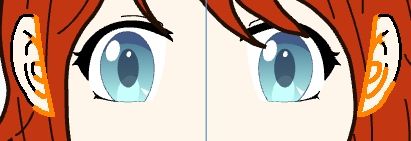
We eliminate part of the ears, to simulate a coverage by the hair

add curves with the Arc tool, with "Hair" material, Fill with the same color as the hair, in a new "Ear adjust" layer, which will improve the coverage like a curve of a lock of hair
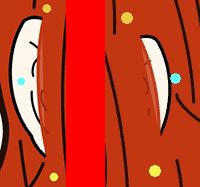
In the new "Eyebrows" layer we create eyebrows with Arc and Radius 15 px.
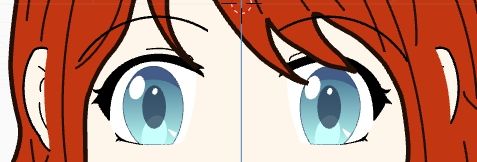
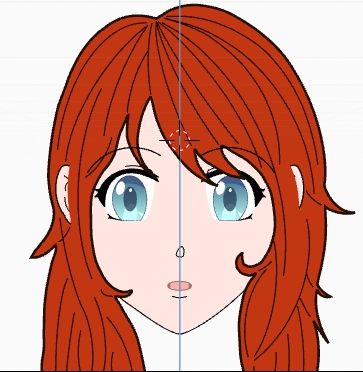
To create greater contrast with the background we change the color of the skin and ears, changing the Fill of the material from FEF6EB to FFE6E0
We design the neck:
We create a new "Neck" layer, which we place under "Head", and a "Neck" material similar to the "Ear" material, that is with Stroke black and Fill FFE6E0, so with the Arc tool we draw

We now create a "Skin shadow" material, only Fill FFA69C, which will serve us for shadows on the skin, is a loaded color because we will use it with Opacity < 1,
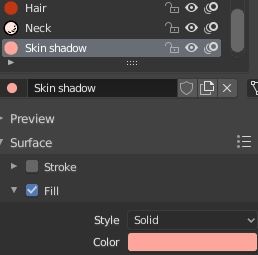
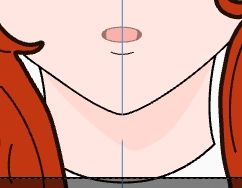
and in the "Chin shadow" layer, which we will place above "Neck" and under "Head", we will draw the shadow of the chin on the neck. We set the layer to Opacity 0.223
Shadows and hair reflections:
We will use the same material even when we create the shadow of the strands of hair on the face. Let's create a "Skin shadow" layer (with Opacity 0.6) under "Hair external" and draw the shadows with Arc

with result
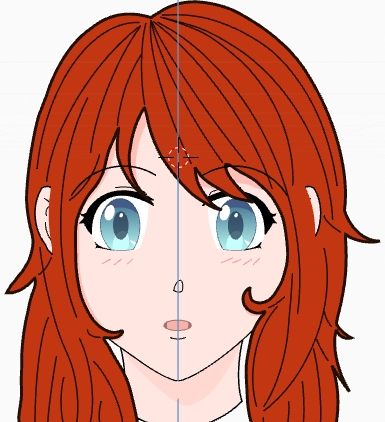
maybe we could give volume to the hair creating shadows. In fact with a "Hair shadow" material with Fill of hexadecimal color 701F0A, in a layer "Hair shadow" above "Hair definition" we can create them with the tool Arc
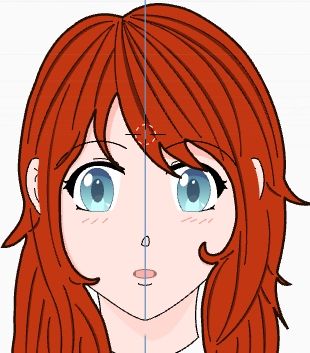
and using the previously generated material "White fill", with white Fill, in a new layer "Hair reflection" we can create hair reflections with Arc
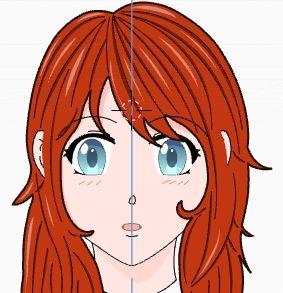
This tutorial ends here, a simple introduction to how you could draw a manga with Grease Pencil, shown here for Blender 2.8. You could use alternative methods with better results, but here we wanted to give only some notions and tools to get started. Good job for your manga :-)
![Grease Pencil in Blender 2.8 - Introduction [ENG]](../../../../immagini/copertina/cover5_130x130.jpg)
